From .png to .webp without breaking a sweat (or my site)
So here’s the scoop: I’ve been quietly at war with the bloat of modern websites. Too many blogs these days are 98% auto-playing videos, 1.5% cookie banners, and 0.5% actual content. Not on my prehistoric patch of the internet.
I recently went full caveman-dev-mode and implemented jsDelivr into my blog. Why? Because Cloudflare Pages-where my blog currently lives doesn’t give me a lot of storage space. But GitHub, on the other hand, is practically throwing storage at me. Combine that with jsDelivr’s ability to serve content from GitHub at lightning speed? We’ve got ourselves a recipe for streamlined, modern cave-blogging.
The WebP Workflow
Big images = slow website = readers leave before they see my glorious ASCII art. Enter WebP. Google’s fancy-pants image format that can shrink your files while keeping them crisp.
Back in the dark ages (last month), I was using an online image converter that could only convert one single image at a time. Like some kind of digital bottleneck torture device. On top of that, it had a daily usage limit. So when playing around to find the perfect compression qulaity and image resolution, I’d end up just staring at the screen like a Neanderthal discovering fire… but being told he can only light one stick per day. That’s when I cracked. I knew there had to be a better way, something quicker, lazier, smarter. So I took the plunge into scripting my own image converter workflow.
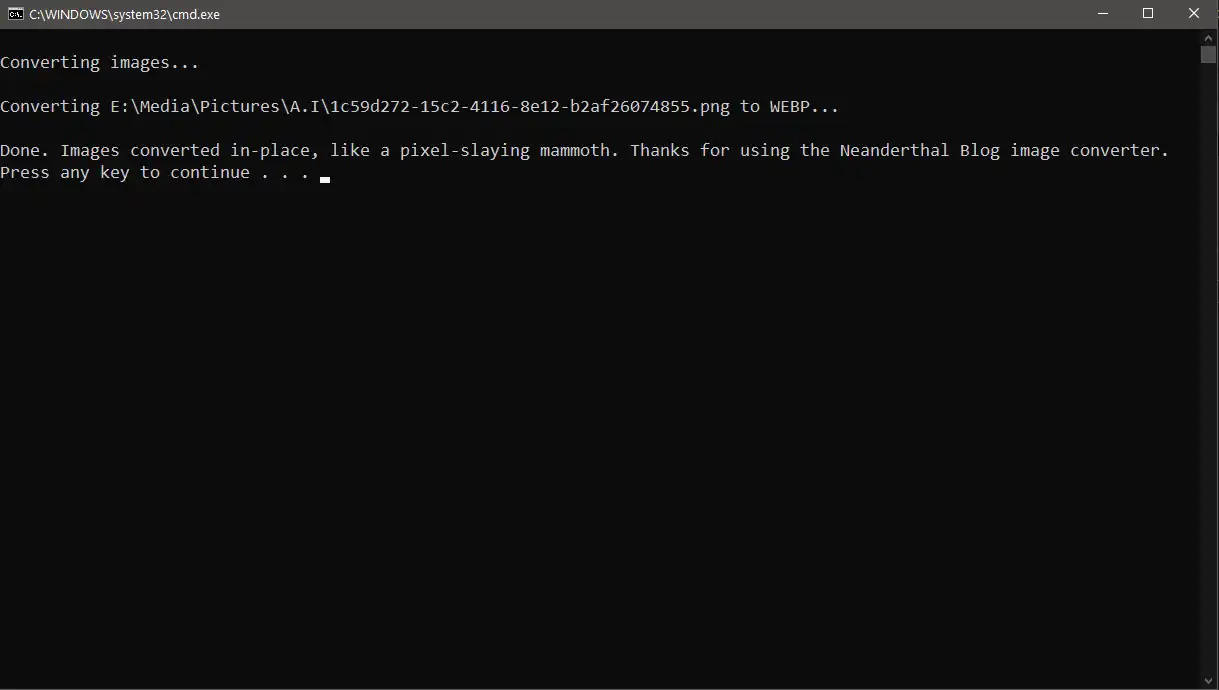
Instead of manually converting every image like it’s 2003, I wrote myself a glorious .bat file. This little prehistoric helper sits in my blog tools folder waiting like a good dog. I just drag and drop one or a bunch of images onto it, and boom:
- It converts all images to
.webpformat - Sets quality to
75(my sweet spot for balancing size vs. quality) - If the image is already in
.webpformat it will convert it to.png - Chucks them into an
outputfolder, ready for upload
The code: Neanderthal style
If you want to try it out for yourself. This really quick and dirty code can be copied into a new text file and you can call it something like imageconverter.bat. Make sure the extension is .bat otherwise it wont work.
Make sure you have also downloded the
cwebpanddwebpfrom google. You can grab them for windows here. They will need to be installed and added topathor extracted to the same folder as the the.batfile.
Line 22 where it has -q 75. This is the quality. You can experiment with this number to get the right balance of quality vs. file size that suits you. Enter anything between 0-100, the bigger the number the better the quality and bigger the file size.
This is very barebones and is the minimum code required and is the base for you to add your own features like a seperate output folder or even a automated quality selector. If you prefer something a little more polished keep scrolling, I made a little something earlier.
|
|
One I cooked up earlier
If you prefer you can download one I made earlier. Head on over to my GitHub and check the Releases for the latest version. All you have to do is extract the folder anywhere. Drag and drop any of your images over the _imagecoverter.bat file.
Using this release is a completely portable application and includes cwebp and dwebp. There’s no need to download or install anything else.

GitHub-Powered Image Hosting
Now here’s the clever bit. That output folder? I’ve turned it into a Git repo. Every time I do a conversion, I can commit and push the new .webp files up to my image-hosting repo on GitHub. From there, I use jsDelivr to serve those images directly into my blog like a wizard.
I can either:
- Call them manually with a direct
jsDelivrlink
https://cdn.jsdelivr.net/gh/your-username/repo-name/path/to/image.webp - Or use Hugo’s shortcode magic to drop them into posts easily
The result? I’m hosting more content, faster, with fewer megabytes clogging up the internet tubes.
Lazy Loading: A Little Trick to Speed Things Up
Lazy loading is when your images don’t load until they’re actually on-screen. It’s like telling your browser: “Hey mate, no need to carry the whole cave’s worth of pictures up front, just grab the ones we need, when we need ’em.”
The Hugo img shortcode makes it easy to enable lazy loading, or you can just add loading="lazy" to your <img> tag if you’re feeling manual.
This keeps the site zippy, even for folks still browsing from the back of a pterodactyl.
Final Thoughts
This whole thing went… suspiciously smooth? No meltdown. No full blog wipe. No waking up at 3am panicking because config.yaml exploded. And now my site is lean, mean, and only serves what it needs.
If you’re reading this and thinking, “Hmm, maybe I could do that too,” then let me say: yes, fellow digital Neanderthal. You can.
Smash rocks. Make fire. Drag images. Optimize.
If you’ve got tips, feedback, or just want to grunt your support, check out the comments (assuming my Giscus still works).
